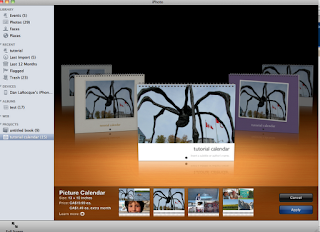
 As 2012 approaches, now is the time to create your own personalized calendar using iPhoto. This simple process is a big part of the iPhoto experience and can result in some beautiful, professional-looking calendars that use your own photographs and images to create a unique keepsake or gift that will keep on giving throughout the year. The skills will also apply to creating hardcover books and cards for all occasions.
The first step is to choose the photos you will use. Using the Command ⌘ key, click on the individual photos you want to include and then click the create icon on the bottom right of the iPhoto window. From there, choose calendar, and then choose one of the themes or designs available. If you want to use other images (art, cartoons, scans) that are not photos you must first import them into your iPhoto library.
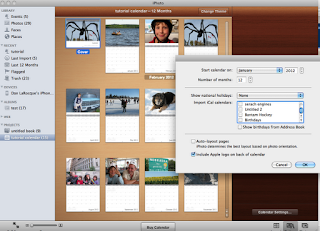
 After choosing the theme, you're greeted with a dialogue where you can specify what month the calendar will start, how many months to create, whether or not you want to include National holidays and even calendar events from your own iCal application, such as birthdays, anniversaries etc.
Each individual page gives you the option to include one photo or two, three, or even up to seven, and which photos to include for which month. There are layout, option and photos dialogues available in the lower right corner. You can always include more photos than originally selected in your project by dragging them from your complete photos list onto the calendar icon on your left sidebar. Many of the themes allow you to add a description to the photo. You can continue to edit, crop, or enhance individual photos by double-clicking the photo on the page.
Once you've arranged the photos in the order you prefer, click the 'buy' button and log in with your Apple ID. You can have the calendar shipped to yourself or shipped to the recipient. You can even have it gift-wrapped. Note, there is no volume discount, and your calendar will cost $19.99 whether you buy 1, 50, or 1000.


No comments:
Post a Comment